Hey there, Florida homeowner! Your deck deals with a lot: the bright sun, weather shifts, and, of course, water. All of that can make it lose its shine and color over time. It is a great shame since when you were building that deck, you probably kept in mind how much value it would add to your property. The good news is that creating a waterproof deck or protecting it from the UV is not rocket science, and you can do it yourself!
It is like giving your wooden deck a shield against all that nasty stuff, so it stays looking great and saves you hassle and cash in the long run.
And we are here to show you how! Keep on reading, and you will learn how to fill out the weak spots on your deck, create a robust waterproof deck, and protect the wood from all elements and other dangers.
Do you need to waterproof your deck?
Here's a simple way to check if your deck needs some TLC.
Drop some water on it—if it beads up, you're good! But if it soaks in, your deck's protection might need a boost.
Another trick: press tape on the surface. If it pulls up old stains or wood, moisture could be an issue. Fix it by stripping, sanding, and power washing.
If your deck looks faded and gray, it's time for a makeover with a few coats of stain. It's also waterproof, so it's a win-win!

Here are some tips: Check the weather before you start—it needs to be dry for at least 48 hours. And know that pigmented stains protect better from UV rays than clear ones.
Lastly, there is no way you can create a waterproof deck out of rotten and damaged wood. So, give your deck a close look for any worn-out, twisted, or rotted wood. If you spot these, more prep work might be needed before waterproofing.
A waterproof deck in 9 easy steps
Here's a step-by-step guide to waterproofing your wooden deck. You will not need any fancy pro-grade tools or skills to do the job, but make sure to consult with the hardware shop employees and read and follow all the instructions thoroughly.
Step 1: Clear the Deck
Remove all furniture, plants, and anything else from the deck. Cover delicate plants nearby with cloth tarps (avoid plastic—it can harm them). Remember to remove the covers once you're done to keep your plants healthy. Sweep off any loose debris and fix any damaged boards or popped-up nails.
Step 2: Clean It Up
Grab a garden hose or a pressure washer (keep the pressure low!) to get rid of dirt, dust, and old waterproofing. Start at one end and work your way across. Be gentle, keeping a few feet between the nozzle and the wood to avoid damage. Get between the boards too. Sand down any rough spots with medium-grit sandpaper to get a smooth surface for the new sealant.
Step 3: Safety First!
When using a pressure washer, wear safety glasses to protect your eyes from water and debris splashes.
Step 4: Choose Your Cleaner
There are different cleaners for decks, some with special formulas for mold and algae. Chlorine bleach ones might need more frequent cleaning, so a non-chlorine bleach cleaner like Woodsman® could be a good choice. Make sure it suits your deck type, and follow the instructions carefully.
Step 5: Apply the Cleaner
Apply the cleaner using a deck stain applicator. Avoid letting it pool up—spread it evenly across the deck. Scrub tough spots gently with a stiff brush or broom (no wire brushes—they can cause rust spots). Let the cleaner soak in as per the instructions (usually 10-15 minutes), then thoroughly rinse the deck with a hose.
Step 6: Safety Check
Wear protective clothing, safety goggles, and rubber gloves when handling cleaners.

Step 7: Let It Dry
After cleaning, let your deck dry for at least 24 hours before moving on to the next step.
Step 8: Waterproofing Time!
Now that your deck is clean and dry, it's time to finally make a waterproof deck. Follow the instructions on your chosen sealant/stain carefully. Use a brush, roller, or sprayer to apply an even coat, making sure to cover the entire surface. Let it dry completely as per the product's instructions before using the deck again.
Step 9: Enjoy Your Revived Deck!
Stay off the deck while it dries, for at least 48 hours. Allow the sealant to dry completely before replacing any furniture and potted plants. When you're finished, remove your drop cloths, return furniture and other items to your deck, clean your tools, and enjoy.
Remember, taking good care of your deck not only keeps it looking great but also helps it last longer. Happy waterproofing!
The shopping list for your "Waterproof Deck" project.
- Tarps: $5 - $20 each, depending on size and quality.
- Drop cloths: $5 - $20 each, based on size and material.
- Slender stick or tool: $5 - $15, depending on the type and brand.
- Pole sander: $15 - $30, varying by quality and brand.
- Hammer: $10 - $30, depending on the type and brand.
- Garden hose: $15 - $50, based on length and quality.
- Pressure washer (optional): $100 - $300 for a basic model; prices can go higher for more advanced features.
- Safety glasses: $5 - $20, depending on style and quality.
- Deck cleaner: $10 - $40 per gallon, depending on brand and formula.
- Deck stain applicator: $5 - $20, based on type and brand.
- Stiff brush: $5 - $15, depending on size and quality.
- Rubber boots: $20 - $50, varying by size and brand.
- Rubber gloves: $5 - $20 per pair, based on quality.
- Work goggles: $5 - $20, depending on style and quality.
- Waterproof sealant: $20 - $50+ per gallon, depending on brand and type.
- Paint roller: $5 - $15 for a basic roller, higher for specialized ones.
- Extension pole: $10 - $30, based on length and quality.
- Spray applicator (optional): $10 - $40, depending on type and brand.
- Paintbrush: $5 - $20, varying by size and quality.
This estimate totals around $495.
Please note that these are rough estimates and actual prices may vary depending on the brand, store, discounts, or specific features you choose. Shopping around or looking for deals might help you save on these costs.
Your waterproof deck once and for all.
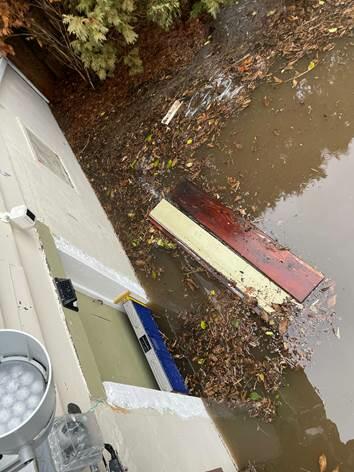
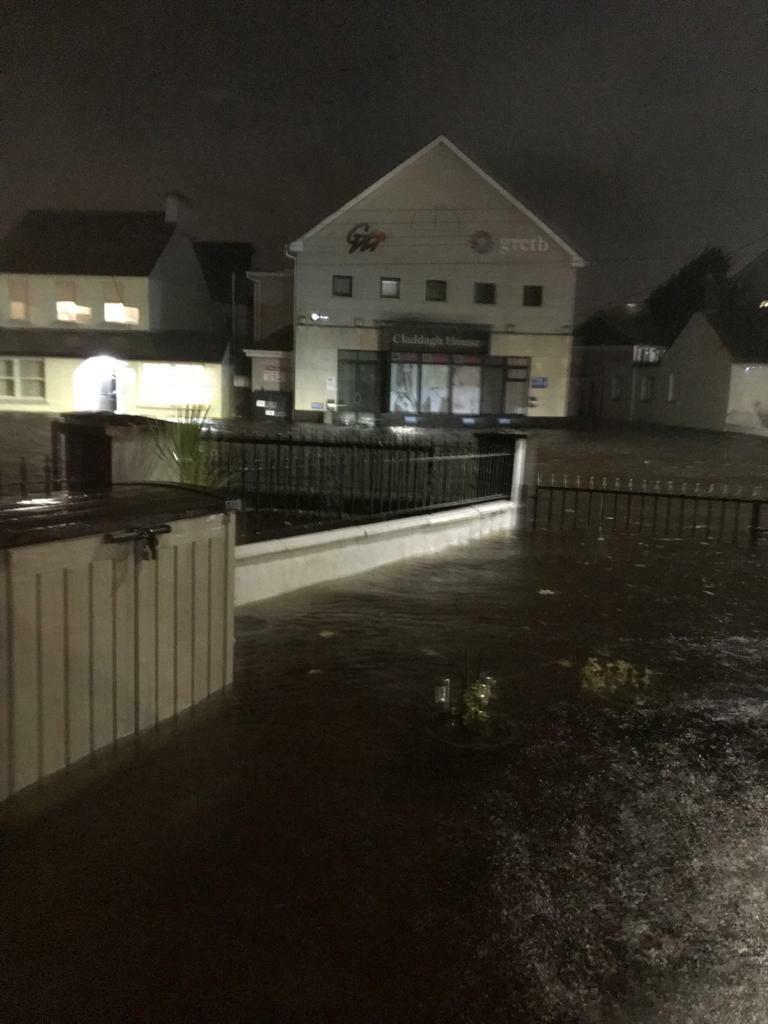
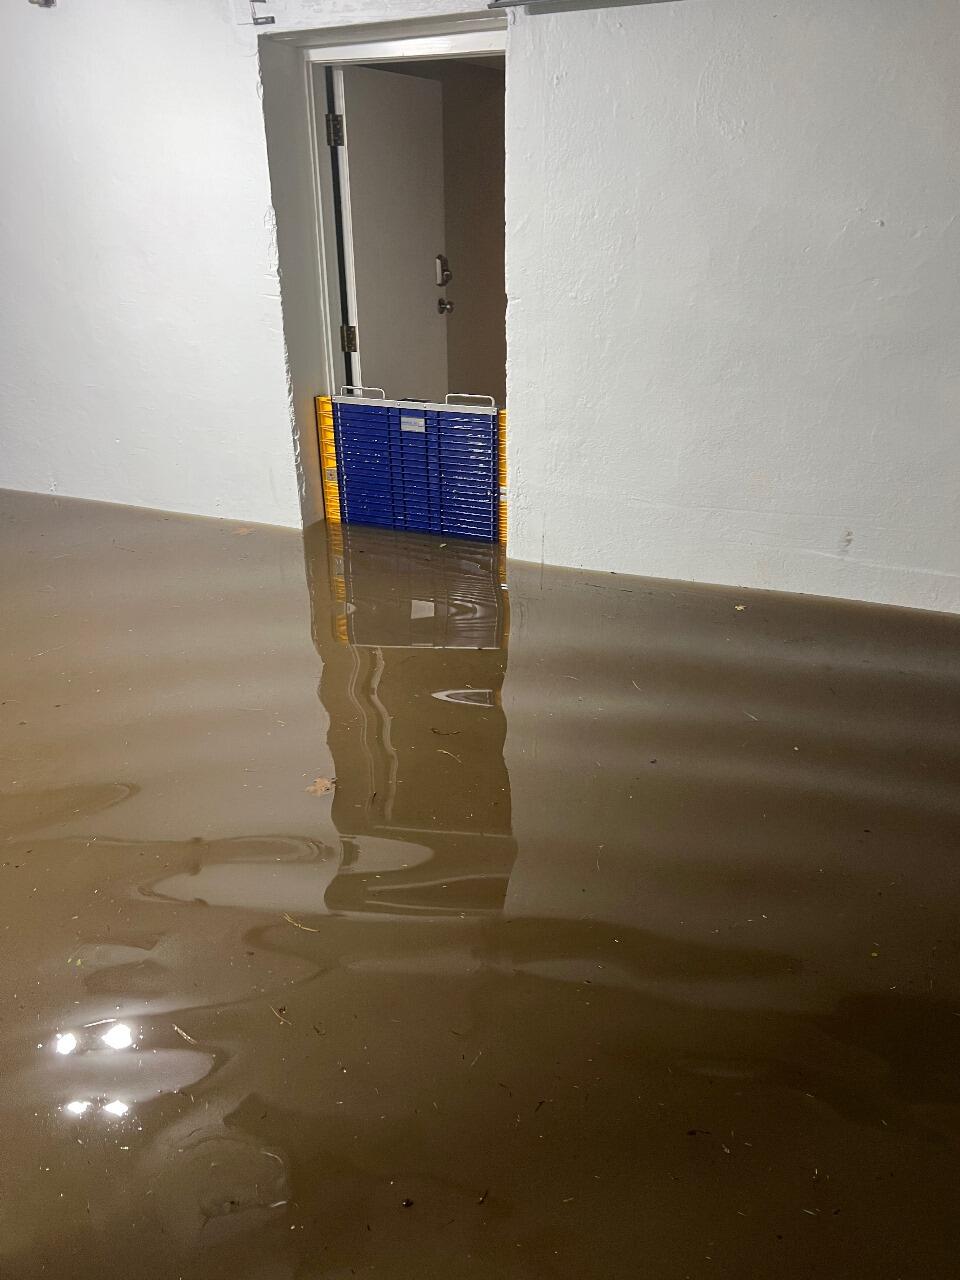
Now your deck is perfectly protected from rain, snowmelt, halo, and everything else nature may bring upon you. But what about floods?
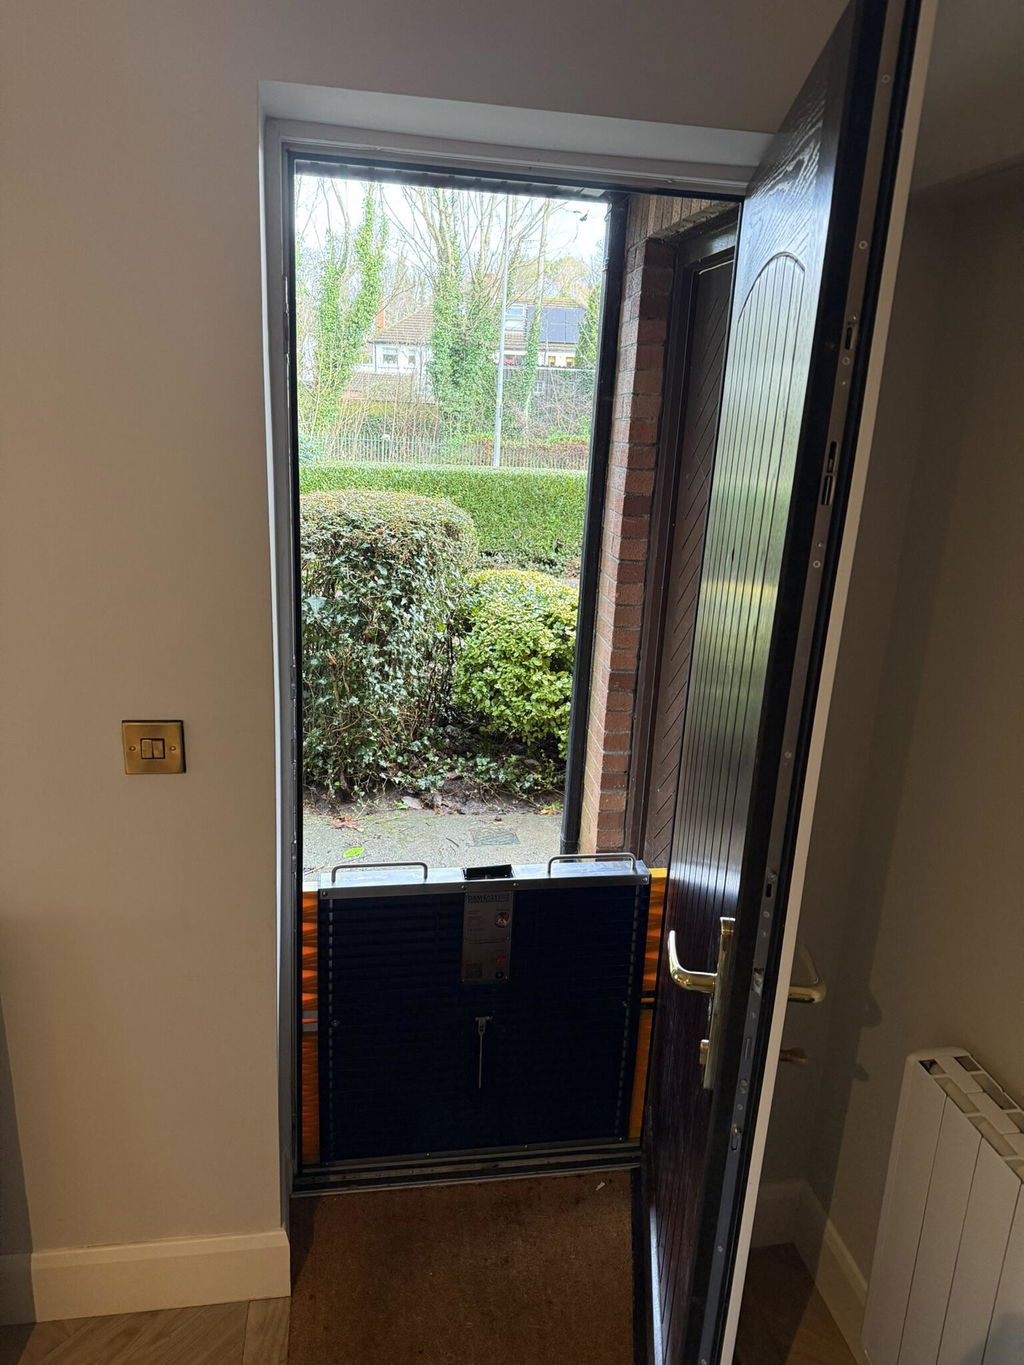
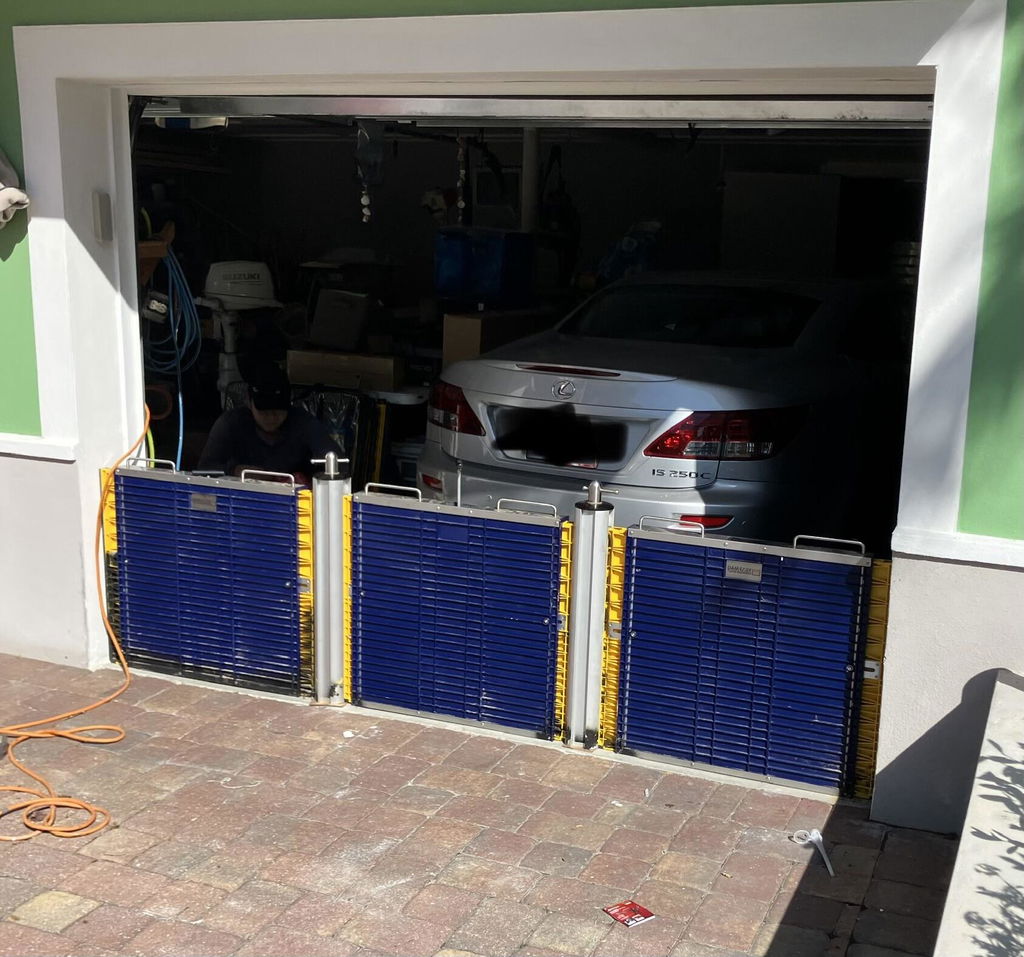
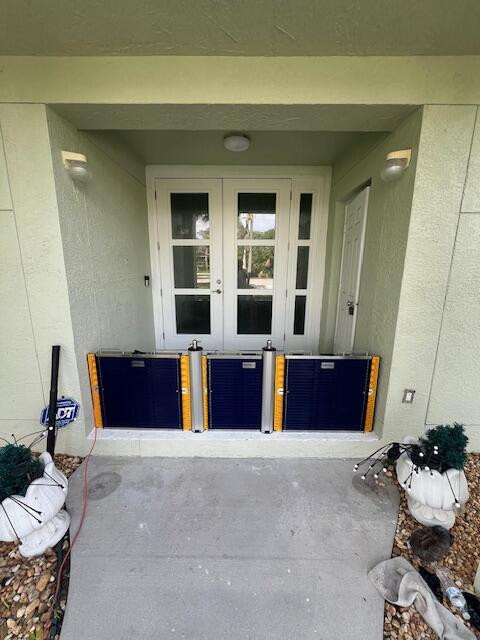
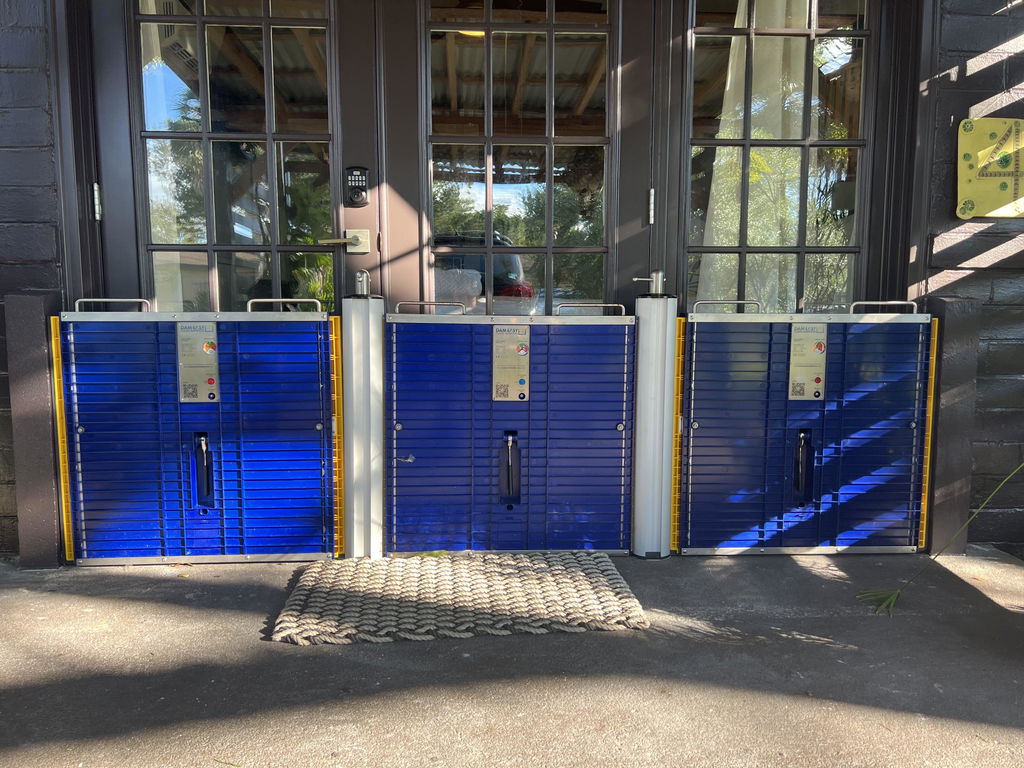
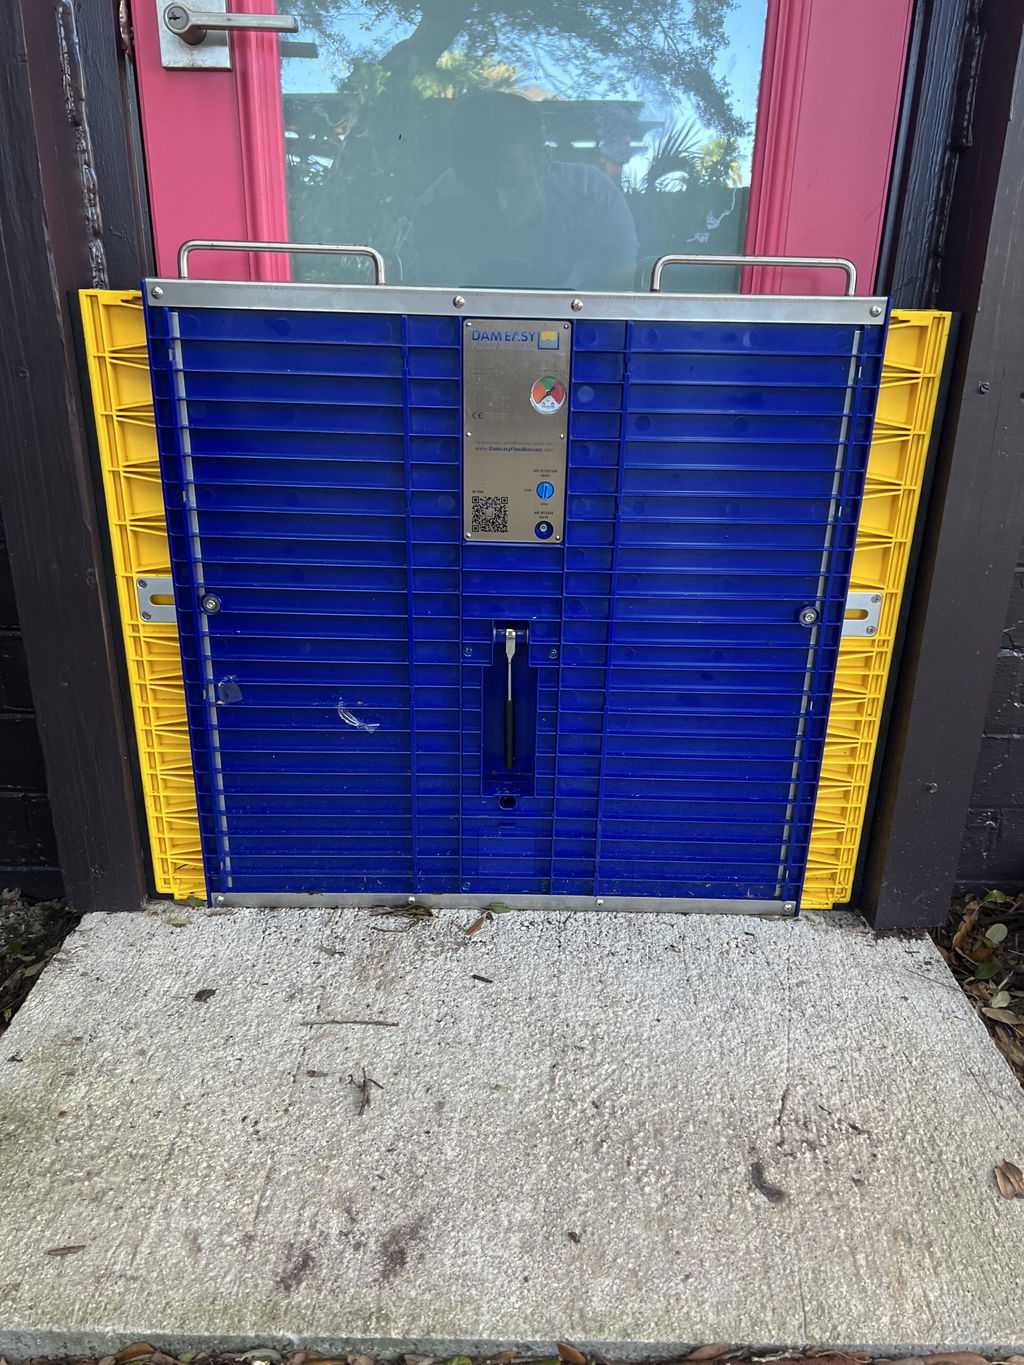
Meet Sarah and Tom, two Florida homeowners who wanted to safeguard their beautiful deck near the pool from floods. They reached out to Dam Easy Flood Barriers for help.
Our team suggested using flood barriers to waterproof the deck and protect it from the most destructive floods. And here's the cool part—they did it without messing up their doors or deck! They had to take out a few bits of wood and cleverly put in concrete columns to support the barriers. These columns didn't just hold up the barriers; they made the deck even stronger!
DamEasy防洪闸门坝 -终极防洪
$949.00
大坝容易®防洪闸门大坝
洪水在世界各地越来越普遍。曾经的百年现象,现在是房主必须面对的季节性趋势。
这正是为什么你需要这个大坝容易防洪闸门大坝!
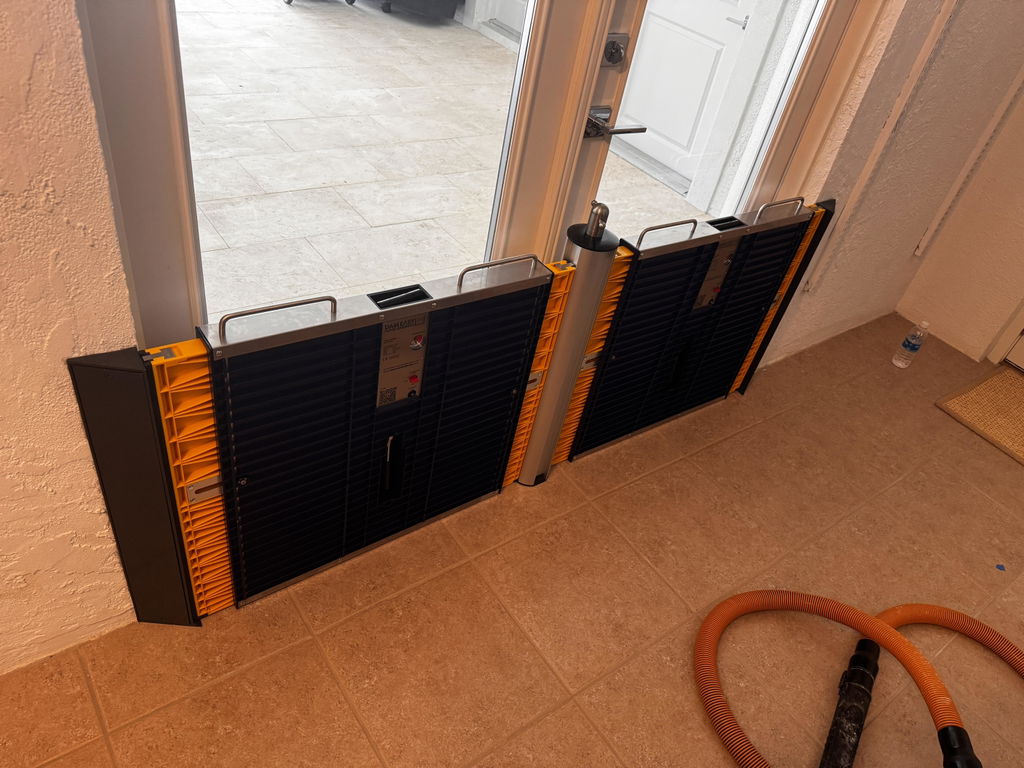
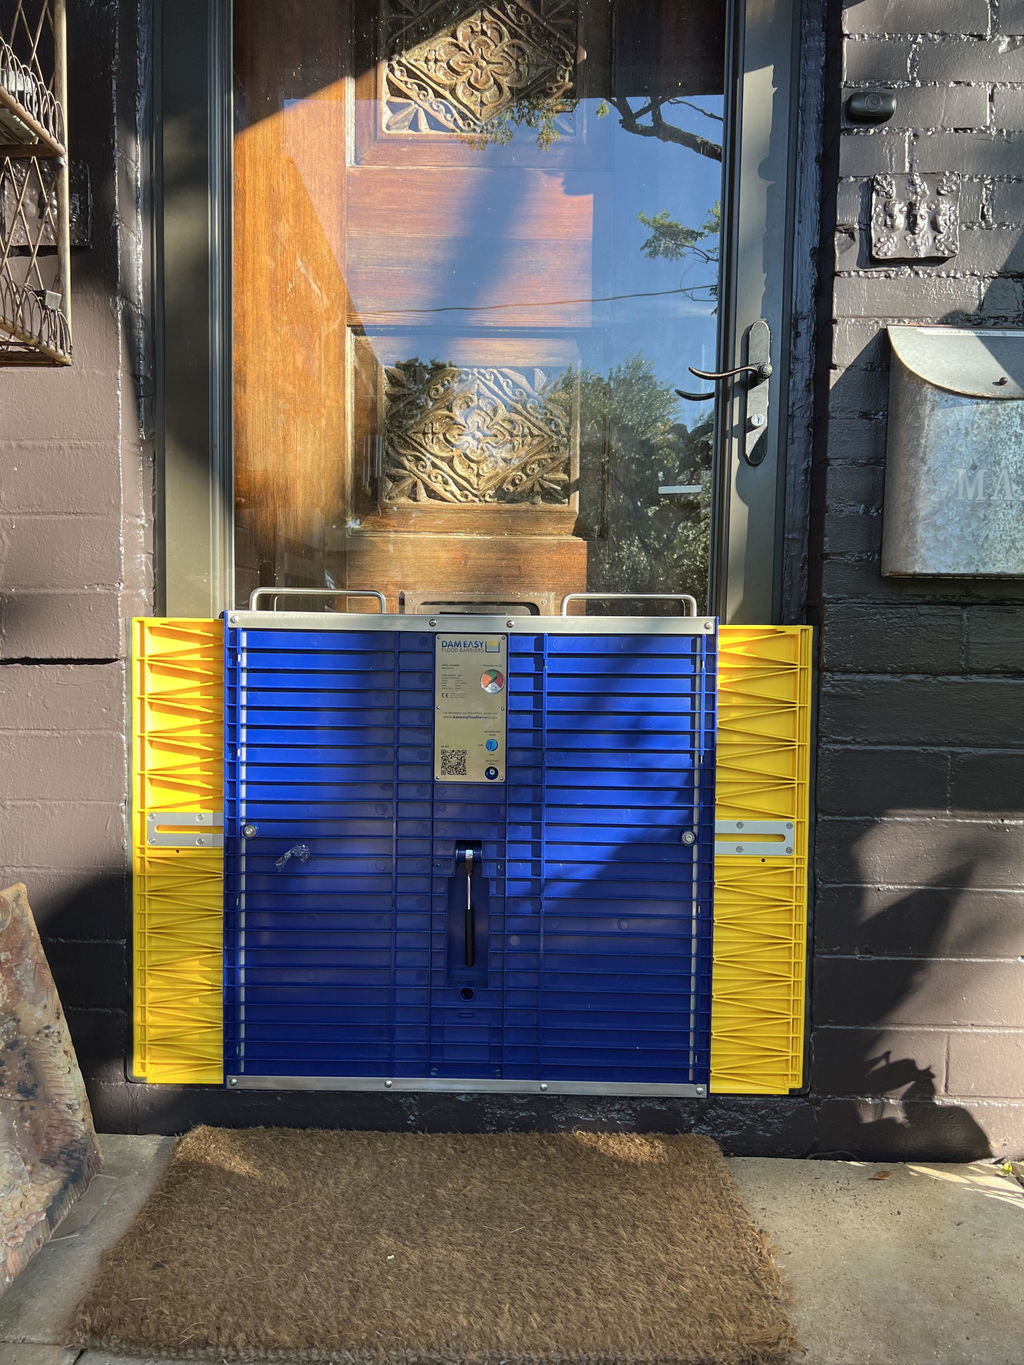
作为重型和凌乱沙袋的一个很好的替代品,这个屏障提供了第一道防线,防止水进入你家的门窗。当洪水发生时,快速行动的能力至关重要。此防洪屏障可在 5 分钟内安装,为您提供可靠的防洪保护!
不要等到为时已晚。得到这个防洪屏障门坝,现在保护你的房子!
… Read More
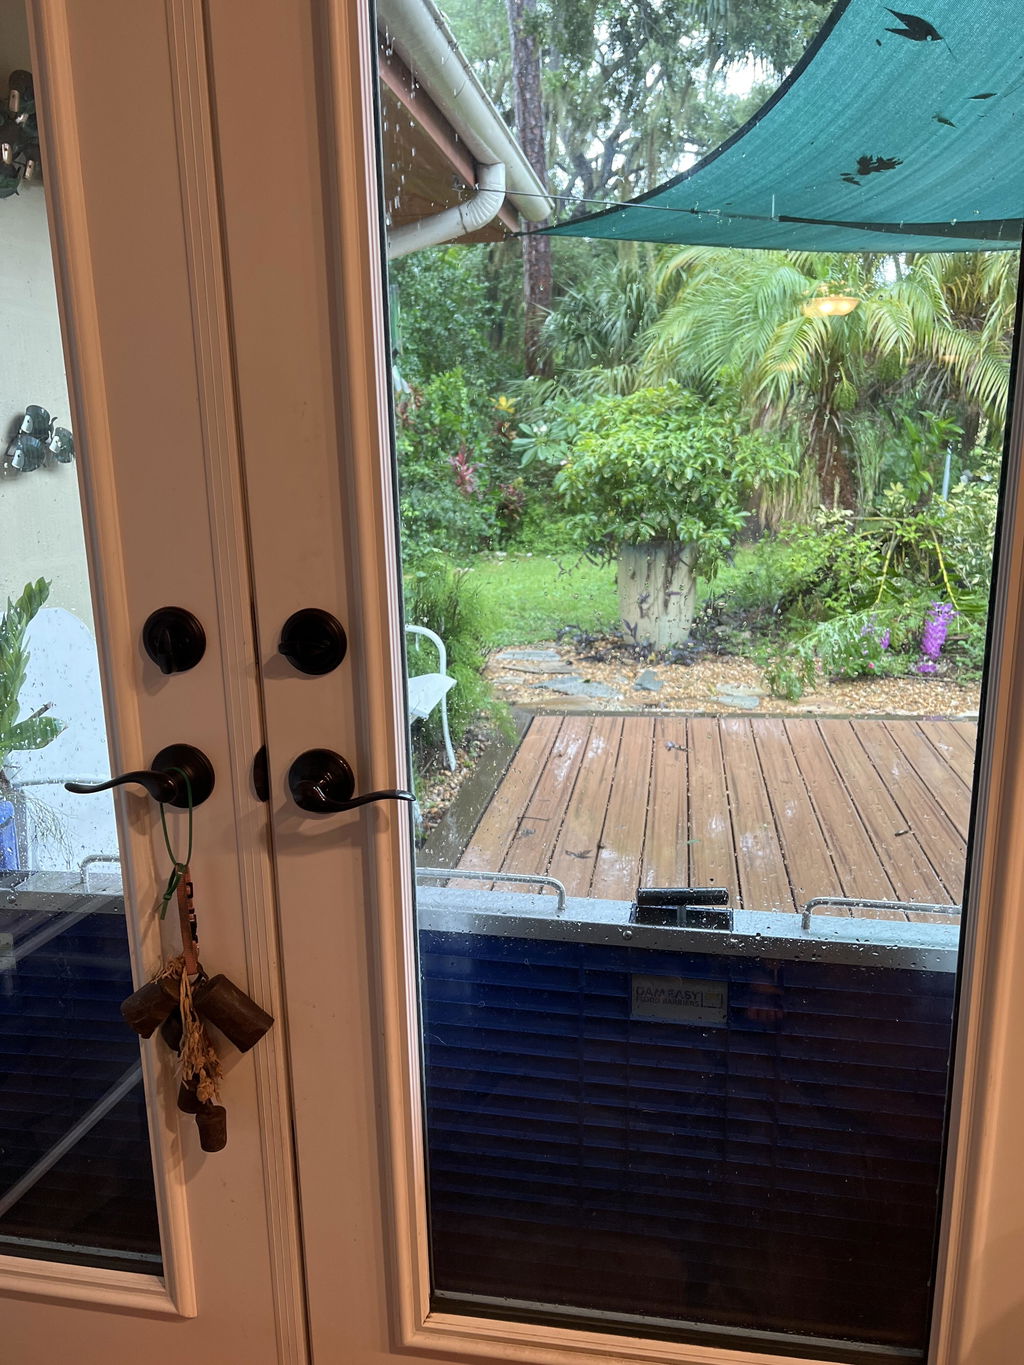
They used something called rebar to make sure their house stayed super sturdy, even with the barriers up. And get this—when they take the barriers down, their doors will still be as good as new! That's all thanks to those sturdy concrete columns.

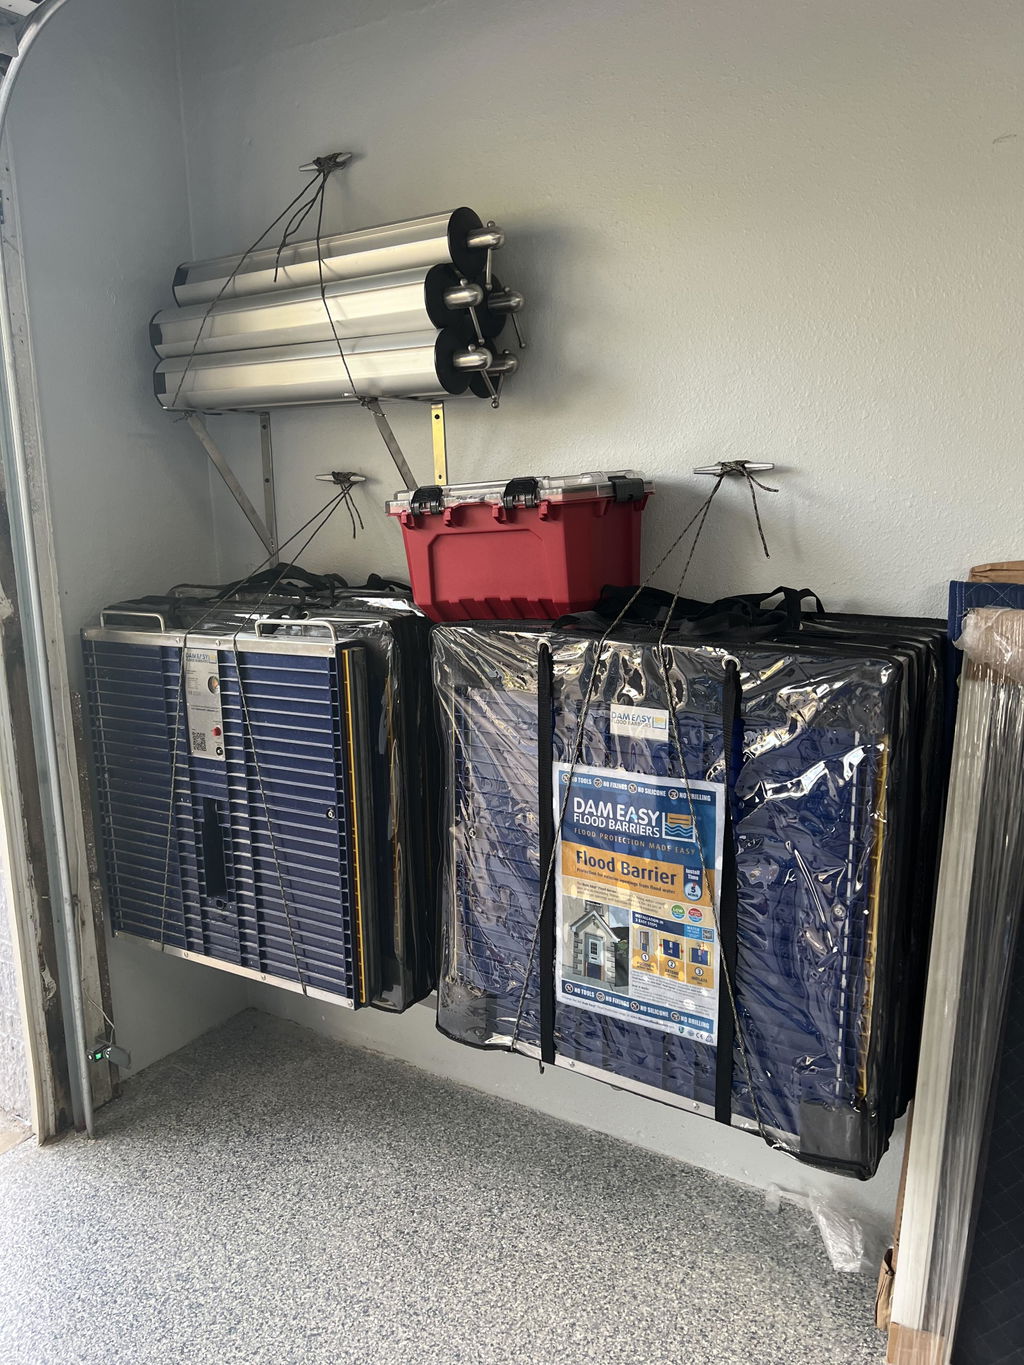
Best of all, these Dam Easy Flood Barriers are a breeze to install and remove. Sarah and Tom can do it themselves in just a few minutes! Now, their wooden deck is safe and totally flood-proofed for years to come. They're ready for anything Mother Nature throws their way!
Want to know more about floodproofing your property? Have questions about our flood barriers and other modern solutions you can use for your house and business? Contact Dam Easy today and we will be happy to answer all your questions and help you make informed decisions about the flood safety of your home.
Stop wasting your time, money, and effort. Let us just make it Dam Easy for you!