After coming extremely close to being flooded, I asked if Dameasy could deliver as soon as possible and one of their team delivered my flood barrier the next morning! It gave me huge peace of mind, especially as more rain was on the way. Very easy to install, just a bit heavy so you may need help depending on how strong you are!
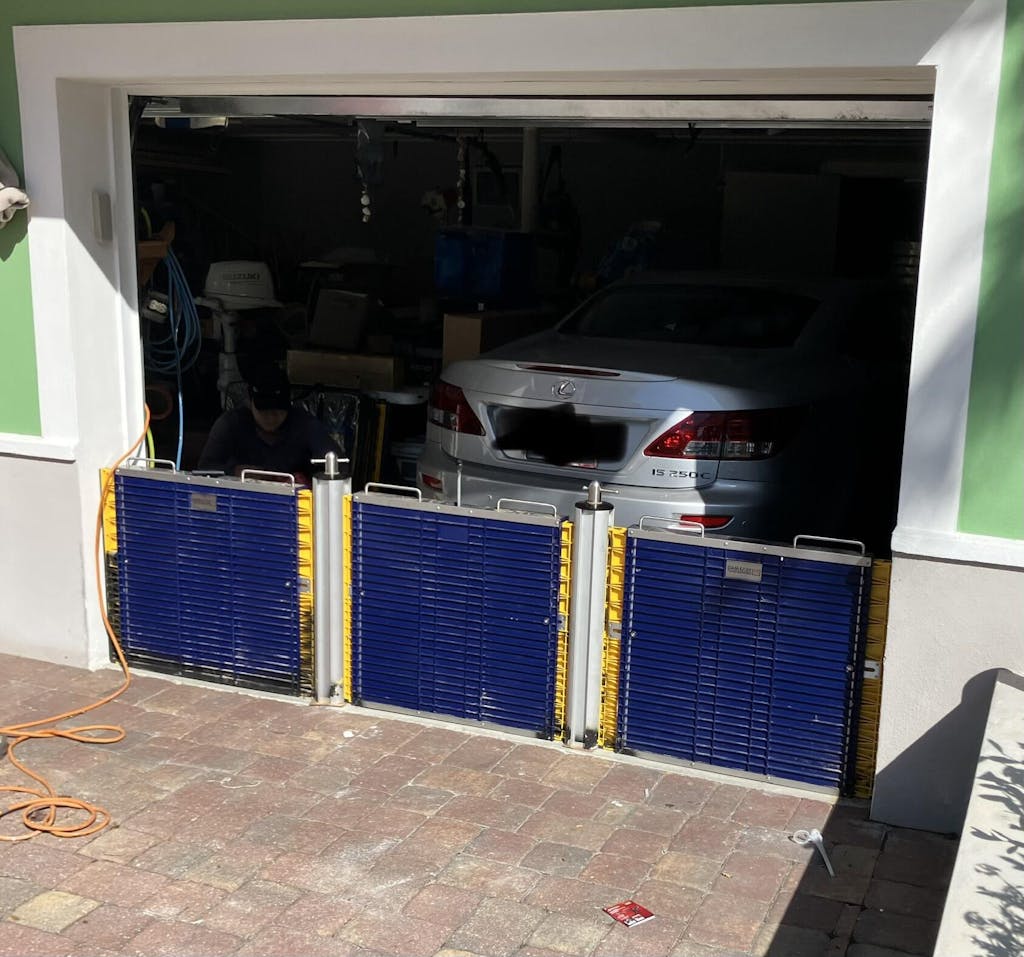
I wanted a product that was easy to install in case the weatherman predicted floods in Southwest Florida. I purchased one to check out the quality and the ease of installation. After one door I was sold. I have since put up panels for the garage level seeing that is at a lower elevation and is prone to flooding. I’m taking steps to mitigate potential flood damage. They are easy to put up and lighter than sand bags! The follow-up and support from the company is unheard of…you actually speak to a human on the other end of the call that is knowledgeable and professional.
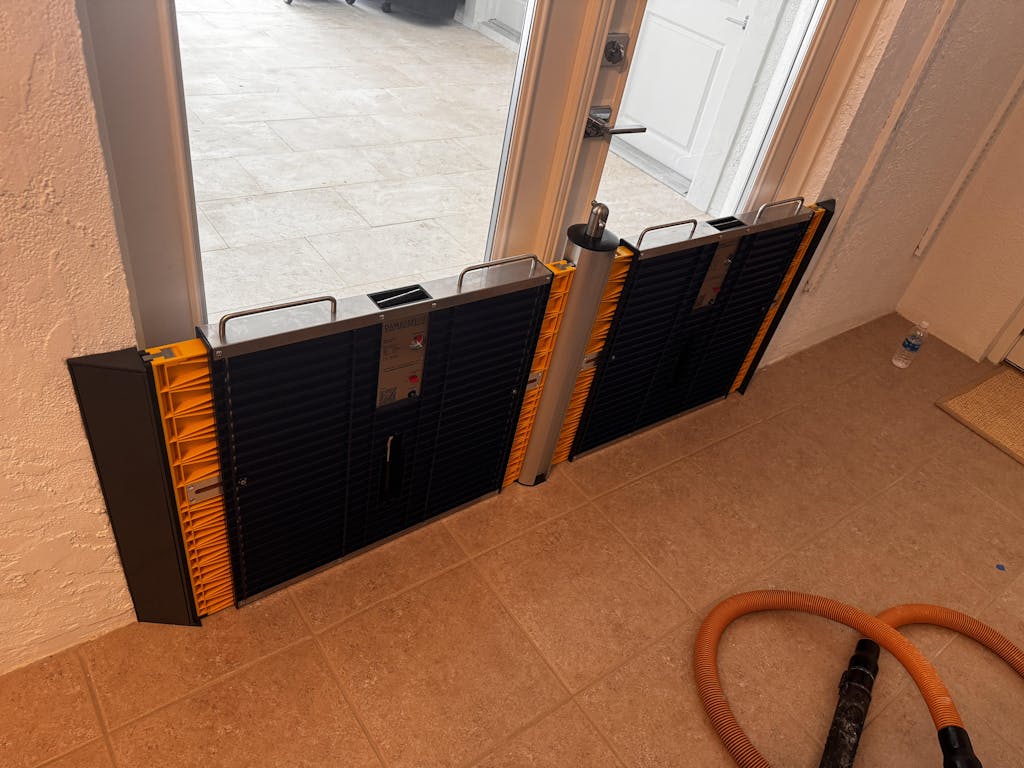
We purchased 9 of the Easy Dams for our home in Florida and we also purchased a used one that needed a couple of parts. It was very easy to service and repair and support even followed up numerous time to see if our manager got it installed and to help if there any problems - there were no problems. It was also amazingly simple to install the support poles. The instructional videos were very helpful and anyone with basic handyman skills can do it.
This is a robust and top quality product that is our first line of defense for any flood.
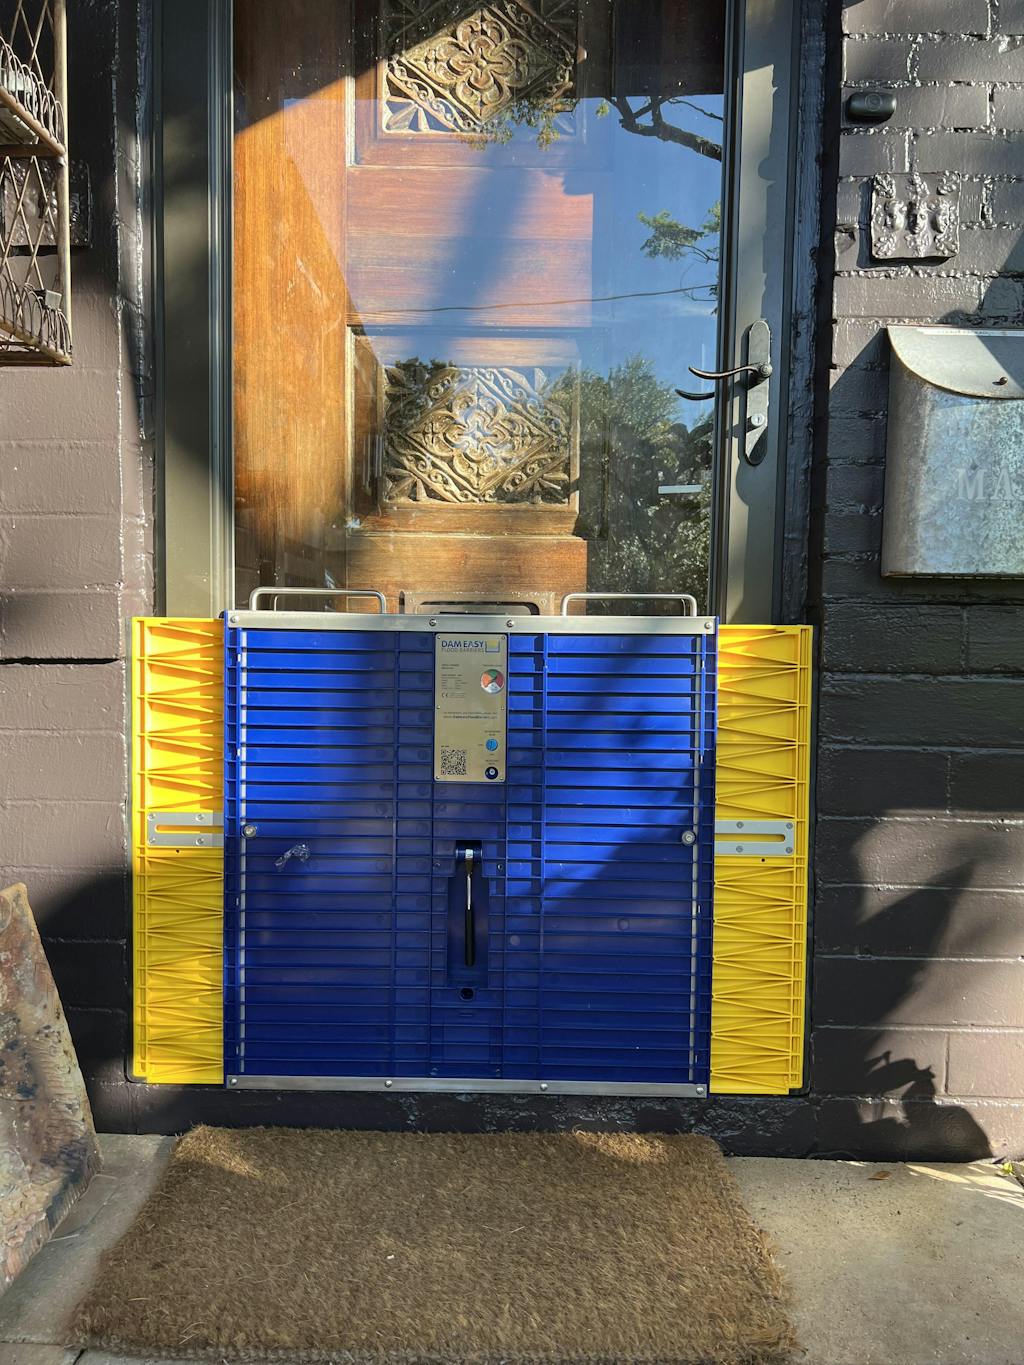
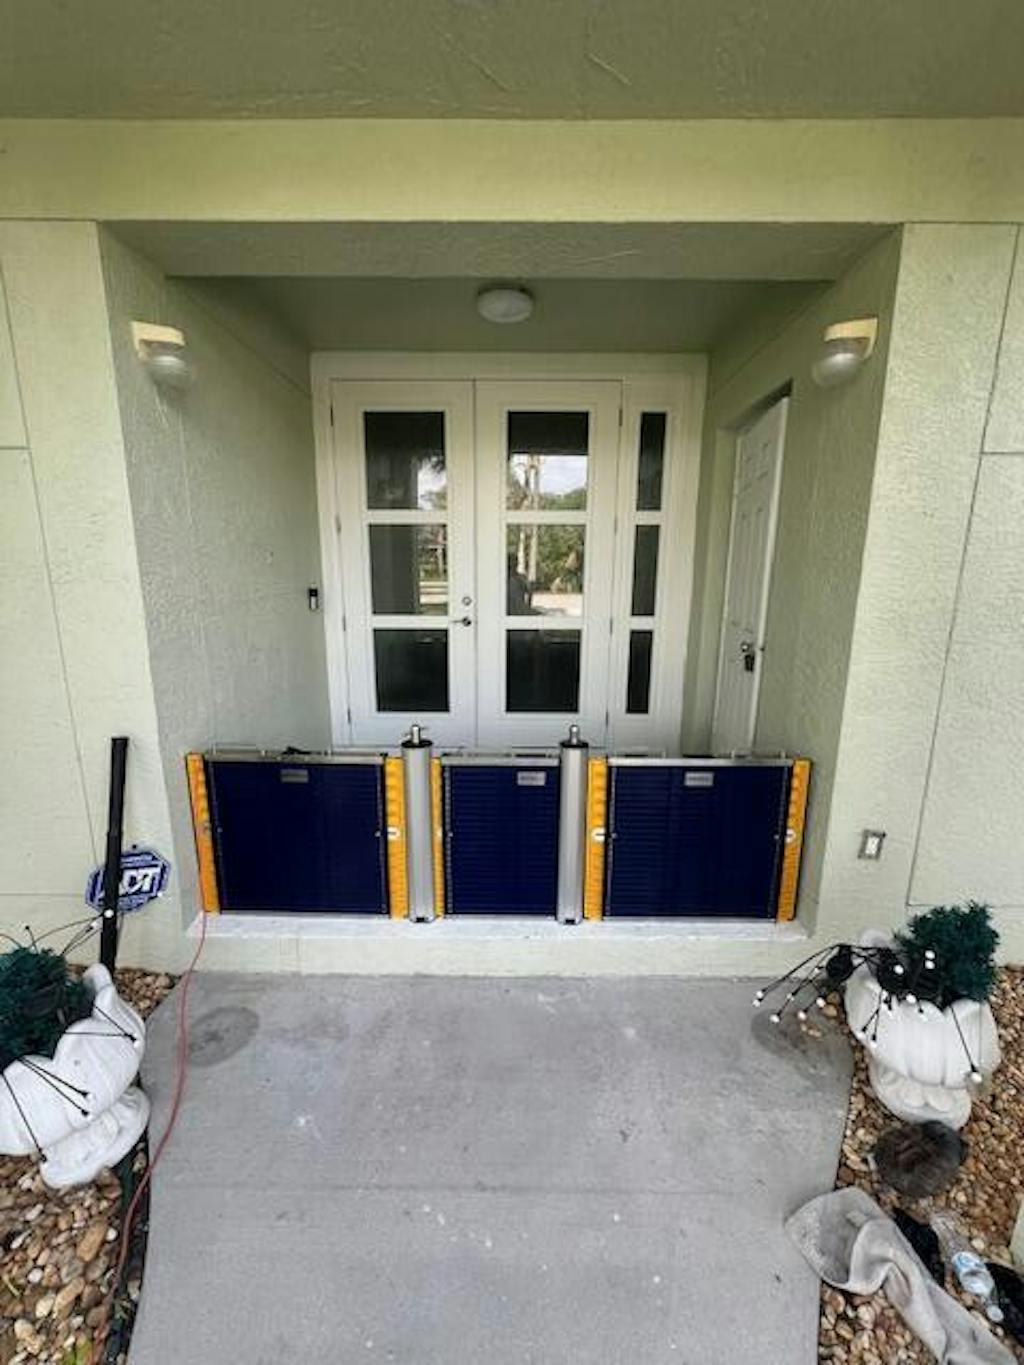
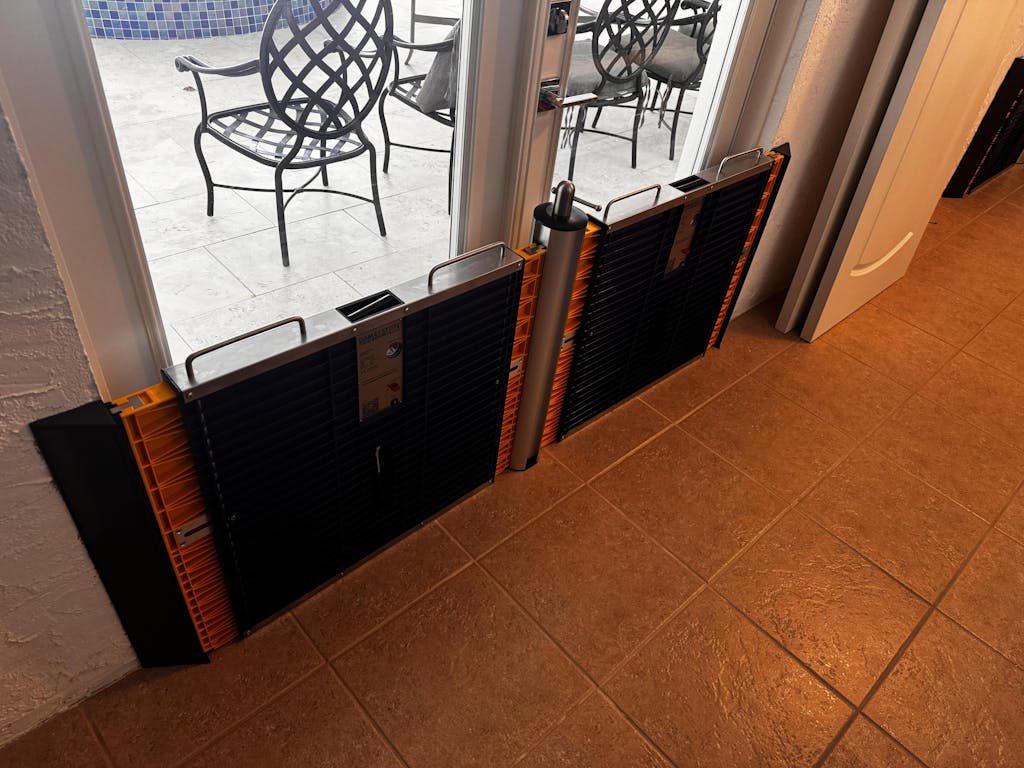
A highly professional and efficient company to deal with that kept its promises as far as fulfilling the order and delivery time. Materials arrived, exceptionally well, wrapped and protected with easy to follow instructions. Luckily, I have a good handyman who obtained the correct drill by rental, and made installation seem damn easy. I could not have done this on my own. We were impressed by the quality of the product although the parts seem a little heavier than we anticipated. We expect they will be excellent barriers high water. We also have another installation on a door between the garage and the foyer inside the house. We would strongly recommend this company so far.
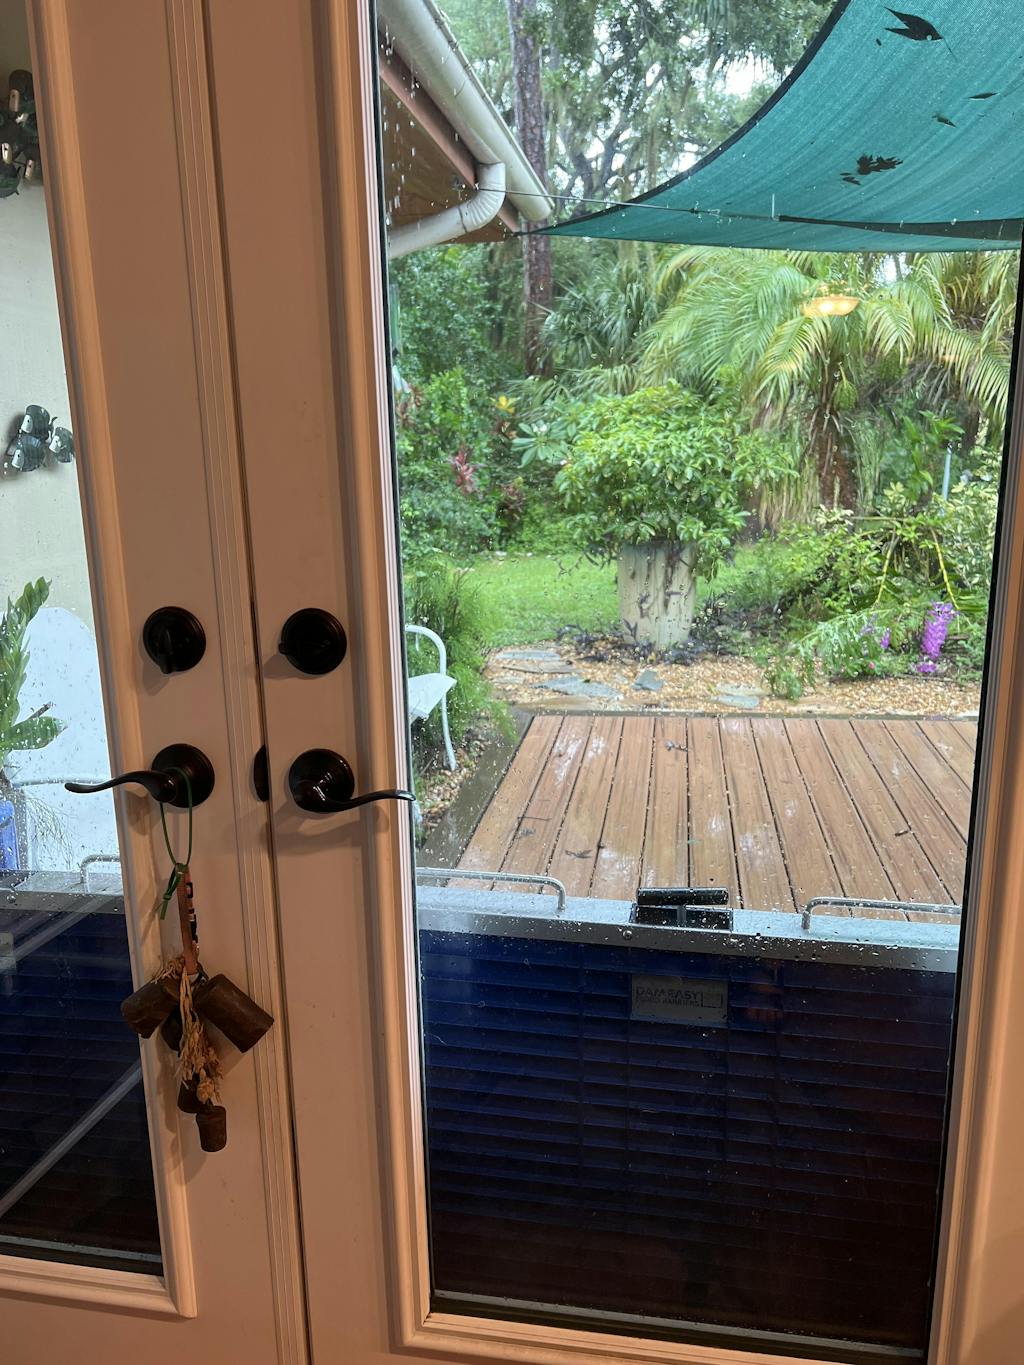
I live near a creek that could potentially flood in central Florida. It gives me the greatest peace of mind to put these gates up and feel confident that I am protected. Right now, hurricane rains and flooding potential is high and I am feeling safe in my home.
Very well thought out product with fairly easy installation. Definitely a ciut above the rest. Thankfully have not needed it yet but ready to go. So far on a test run has held air pressure for 5 days. So works as designed and for Hurricane use more than acceptable.
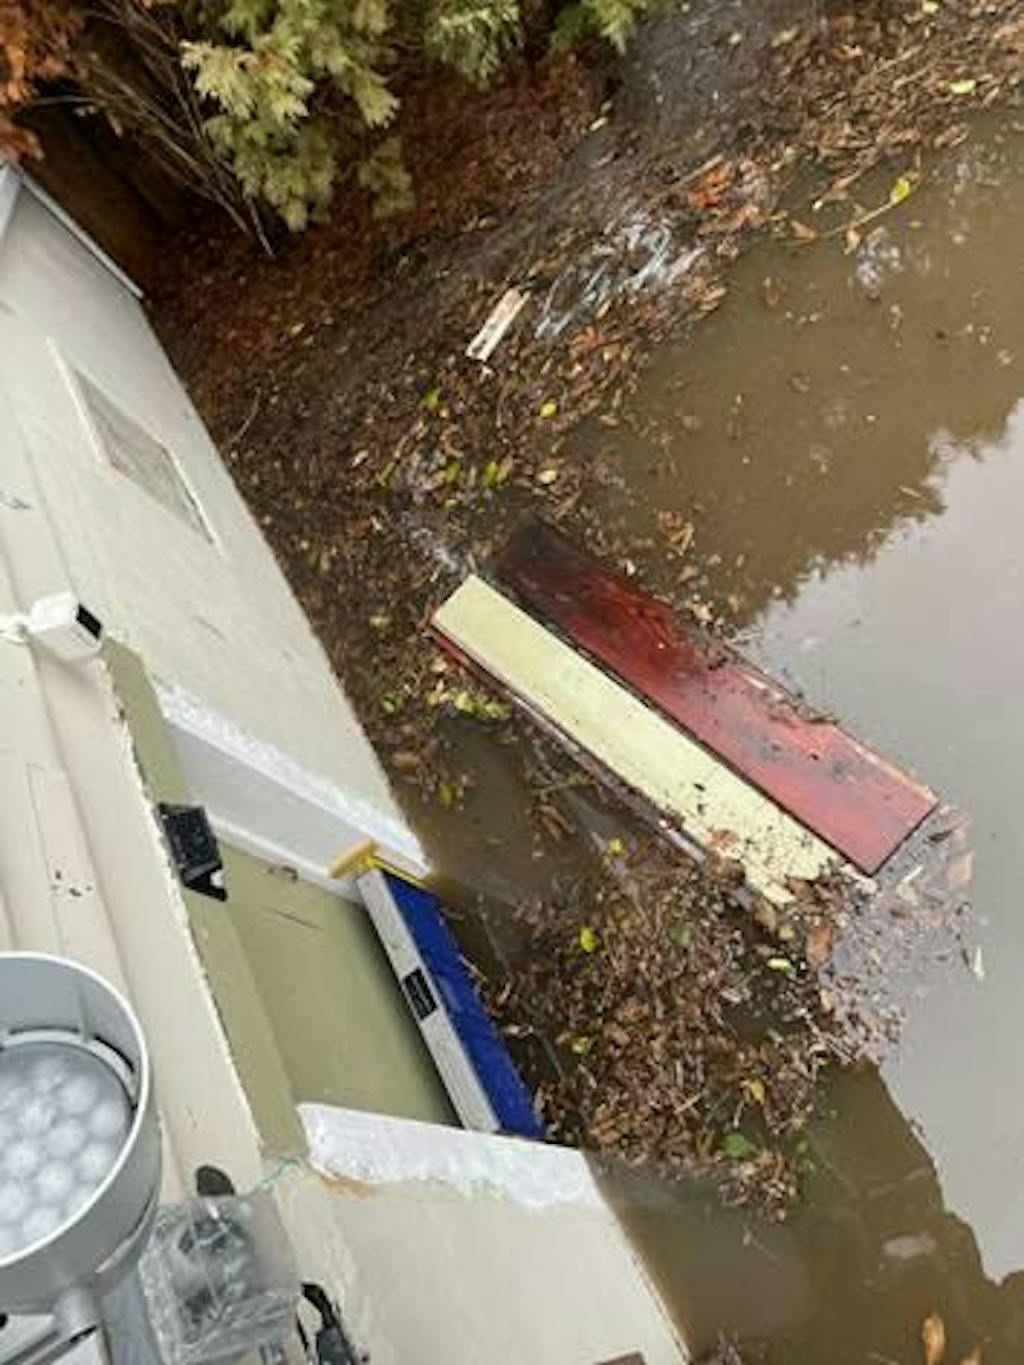
This thing is excellent and the company has the best support. Last year Poseidon thought it would be funny to flood our home in the NY hudson valley with a 5.5' tidal surge on Christmas eve. Fortunately I had been following the forecast and had purchased the Dam Easy barrier a month prior.
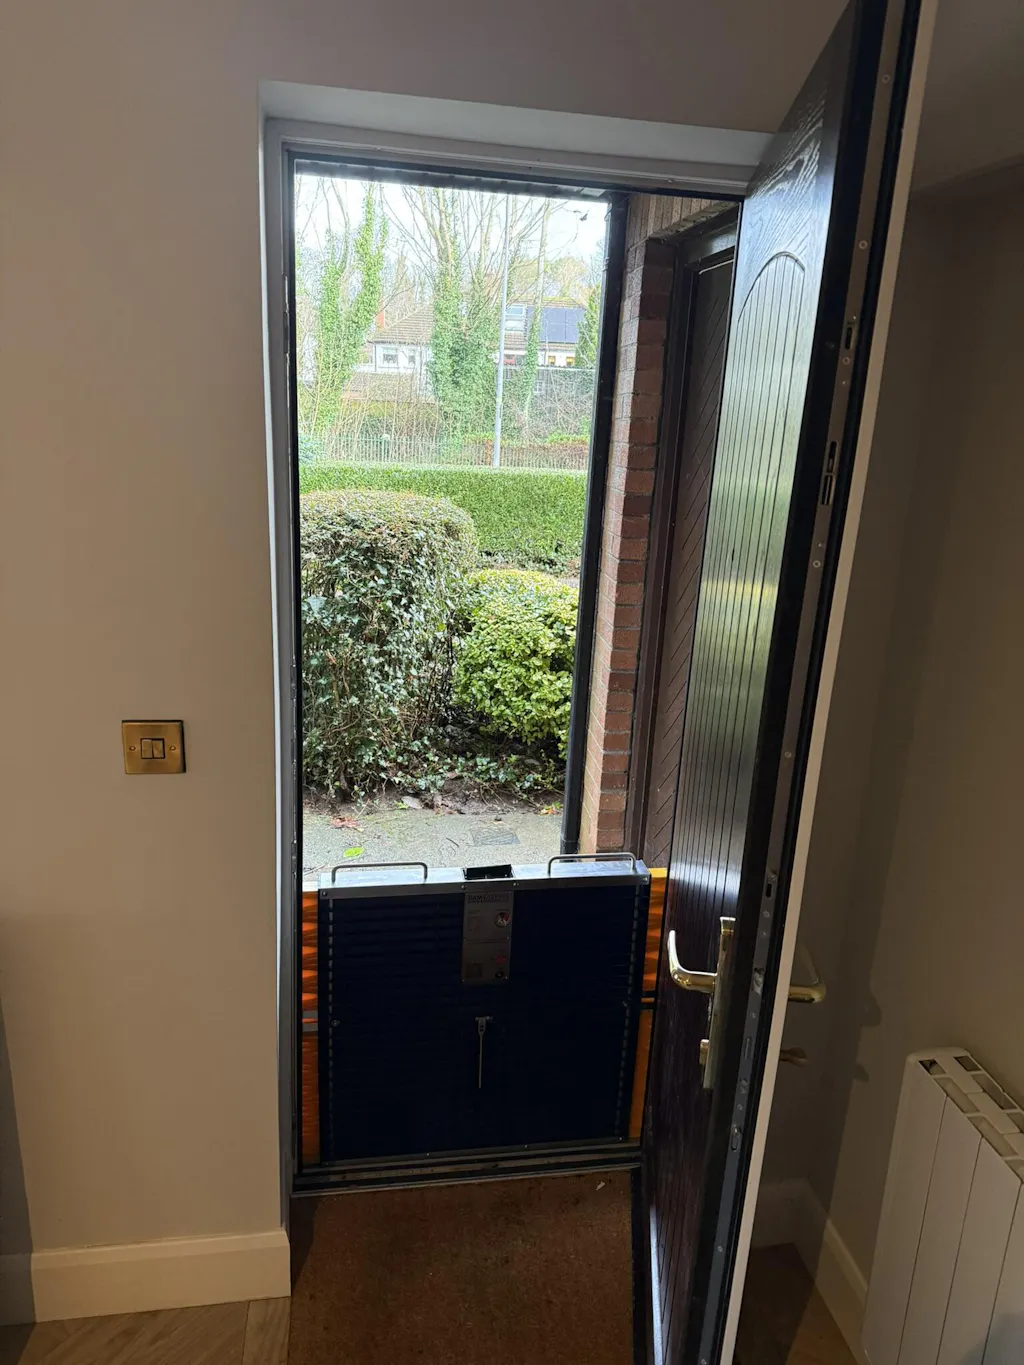
I had installed the barrier the night before in preparation and awoke to find 18"+ of water up the side of my house and the barrier. Over the next 2-3 hours the the Dam Easy barrier worked perfectly in keeping the water from our basement and saved our Christmas. A true miracle!
As the tide subsided and our Dam Easy-less neighbors were pumped dry, a member of our local fire department asked if we needed our basement pumped out. I'm pretty sure he didn't believe me when I told him we were fine (likely thinking we were hiding a meth lab or something).
I now keep my barrier ready with spare seals on hand just in case we experience a similar surge. Top marks Dam Easy!
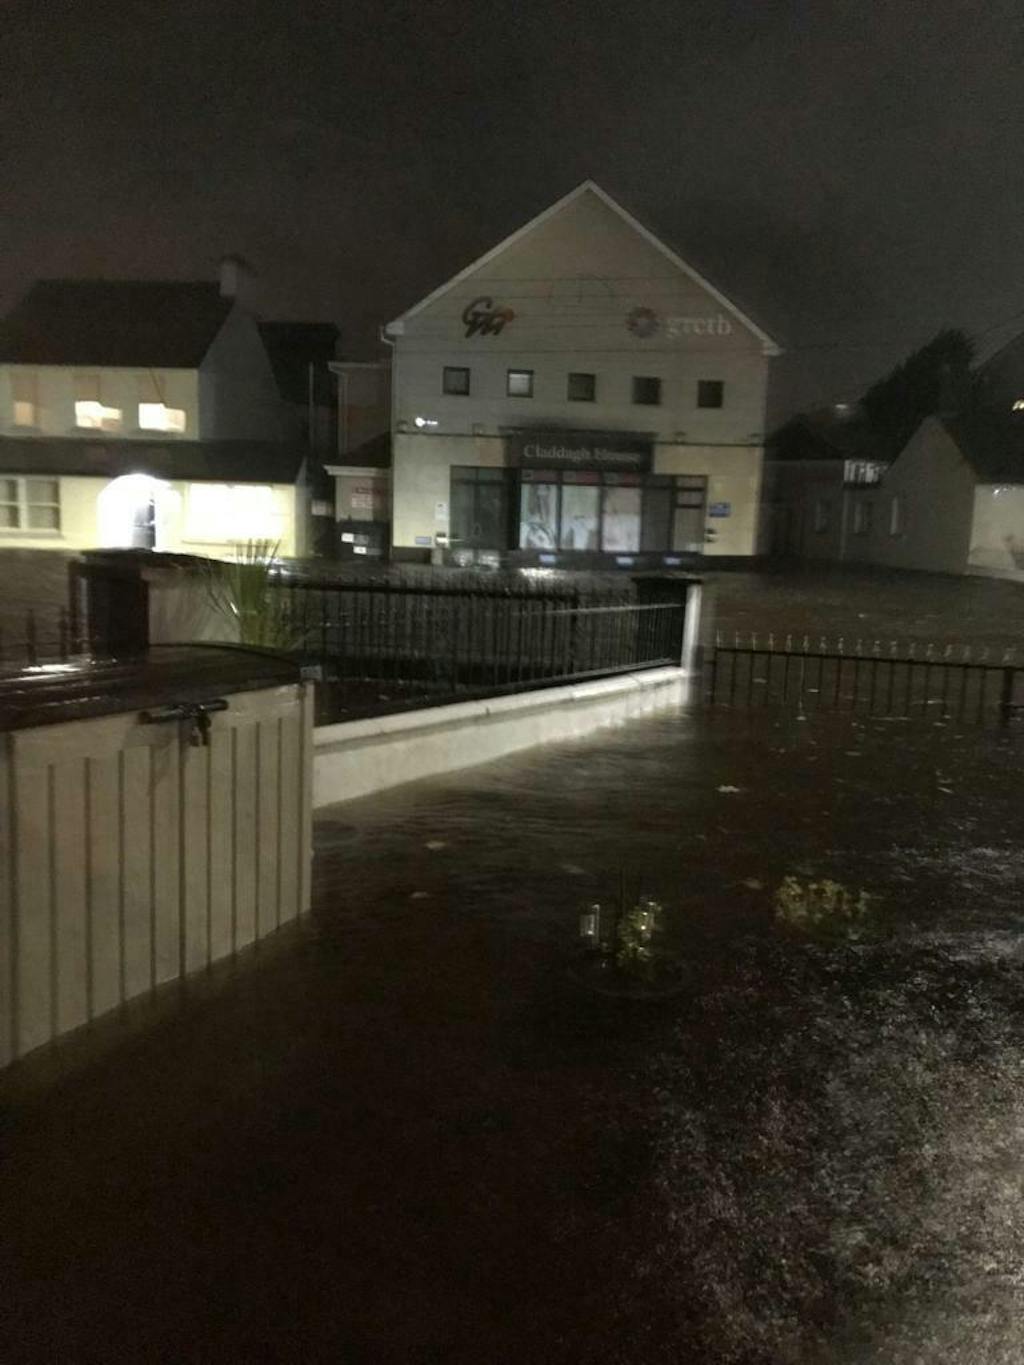
I have the Dameasy flood barriers for the past 5 years. I have put them up on several occasions, but fortunately we did not need them. On 13/11/23 for Storm Debi they went up again and on this occasion they definitely proved their worth. Without the Dameasy flood barriers, we would have been flooded. Best money ever spent.
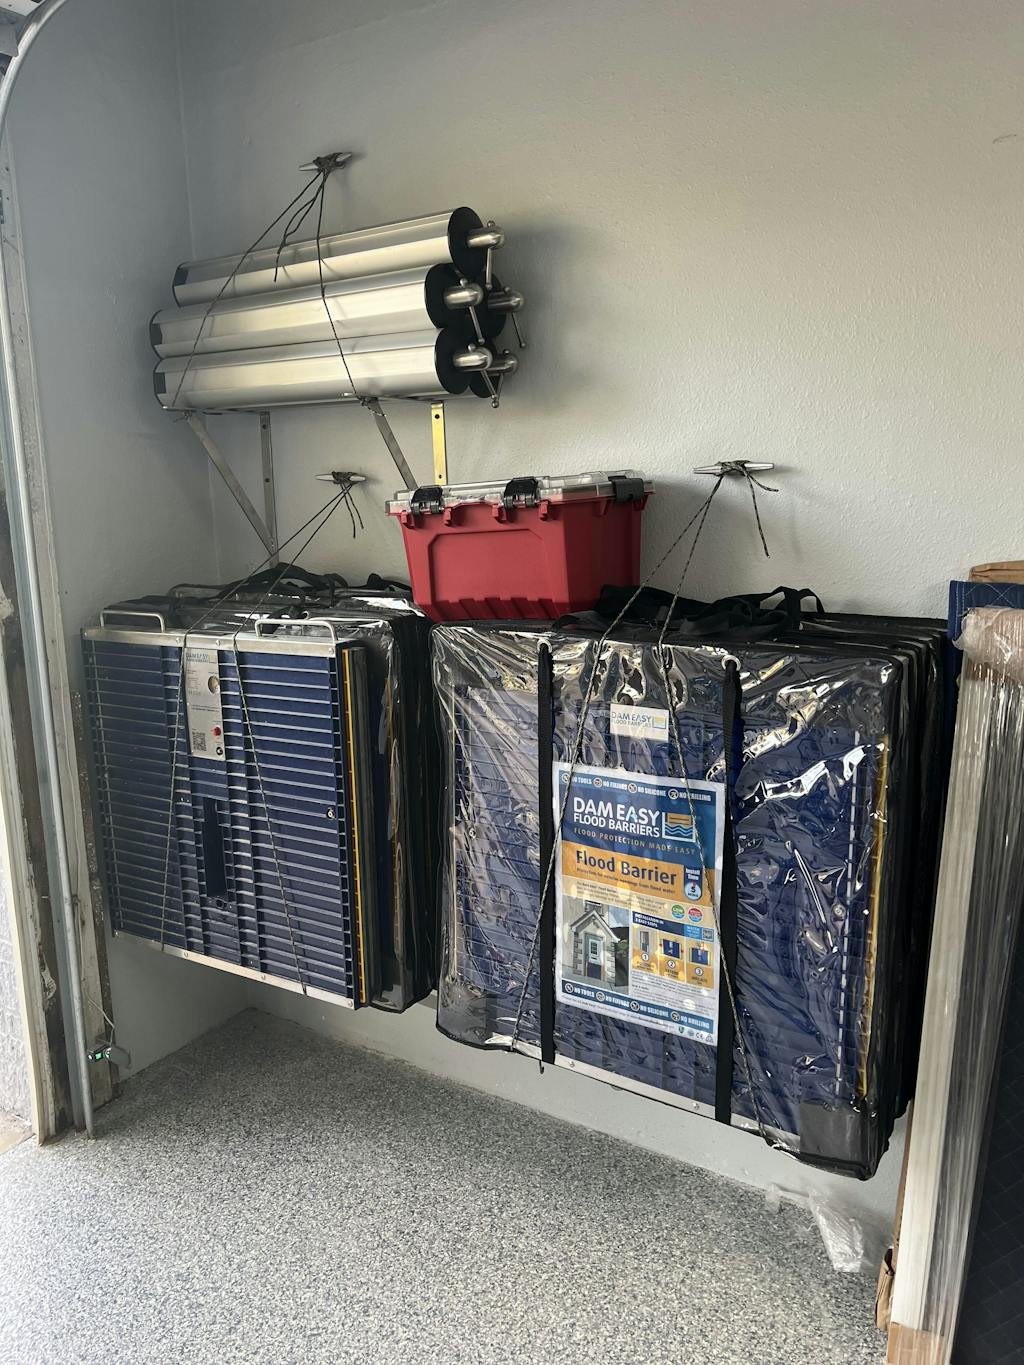
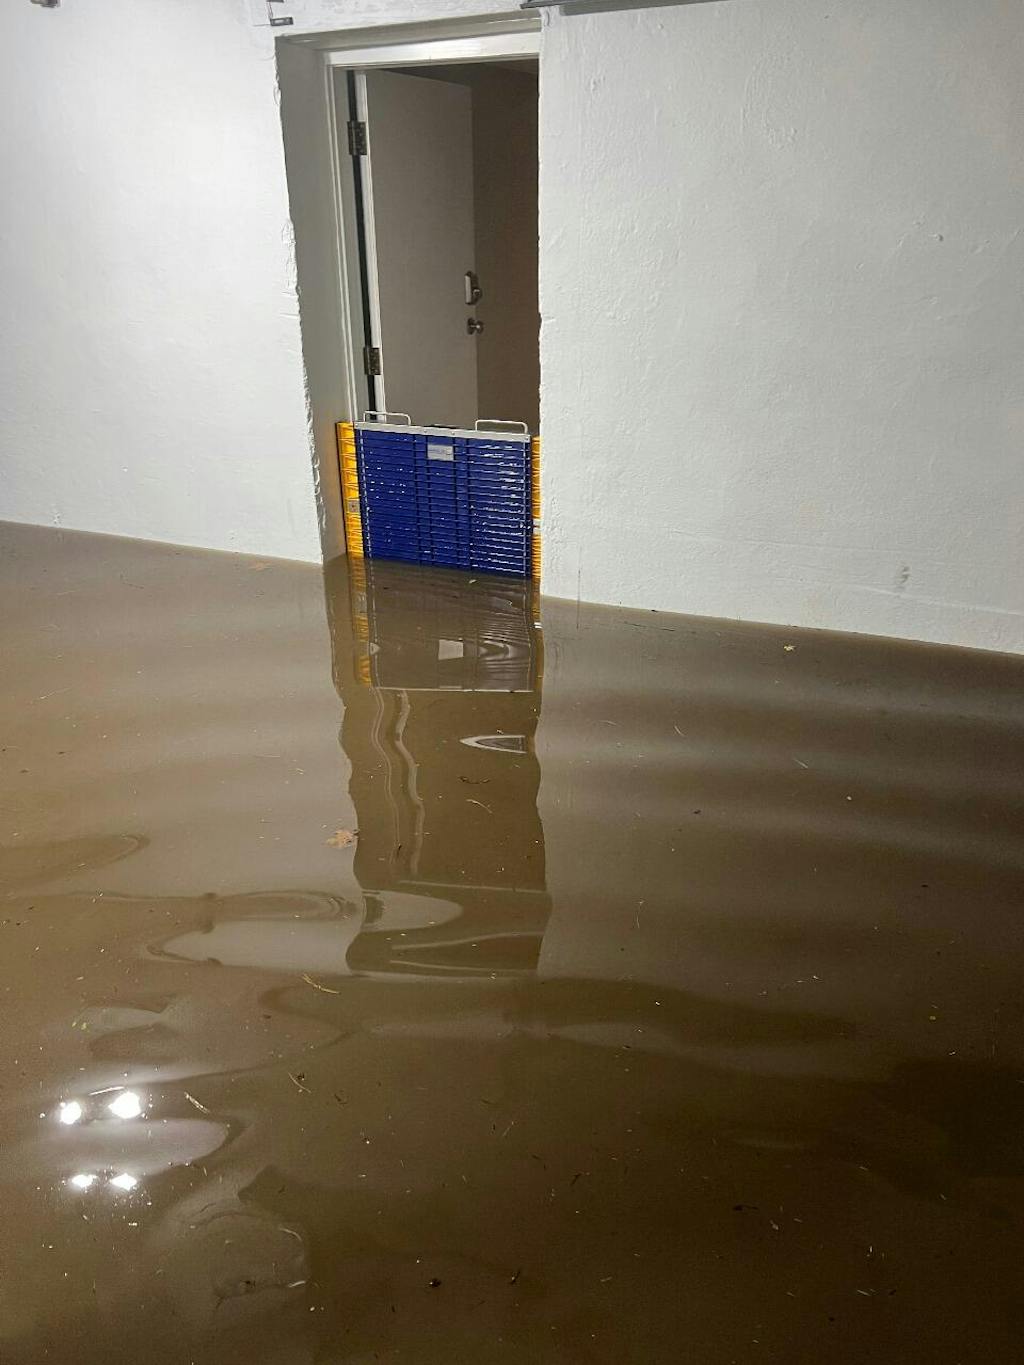
I have installed the new seal on my Barrier. It was extremely easy to install. I then stored the product "ready to go" and hope to never need it!! The barrier, btw, worked amazingly well - held back 2 feet of water...

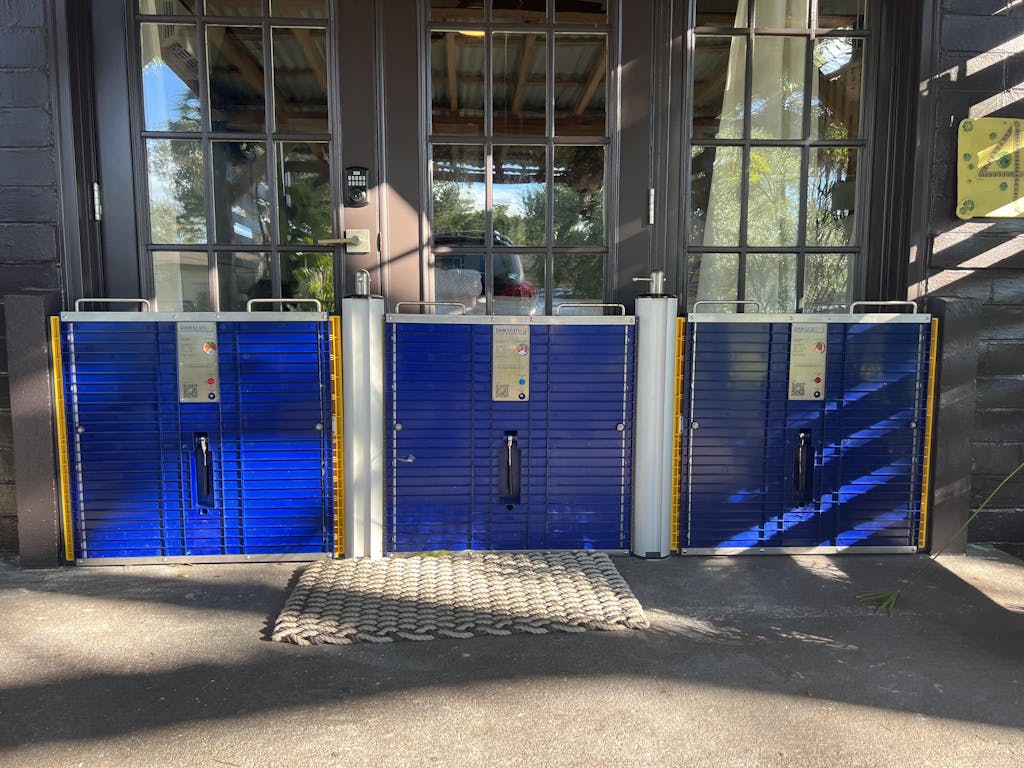
After these barriers proved effective in my single door openings, I bought more and connector poles to cover a 100" opening. We also raised the clothes dryer vents to 48" and filled the old openings with concrete.
Now, my 1950 Brick Bunker is protected within minutes, and my friends say they're stylish, too. Thank you DamEasy Flood Barriers. We keep them under our beds.